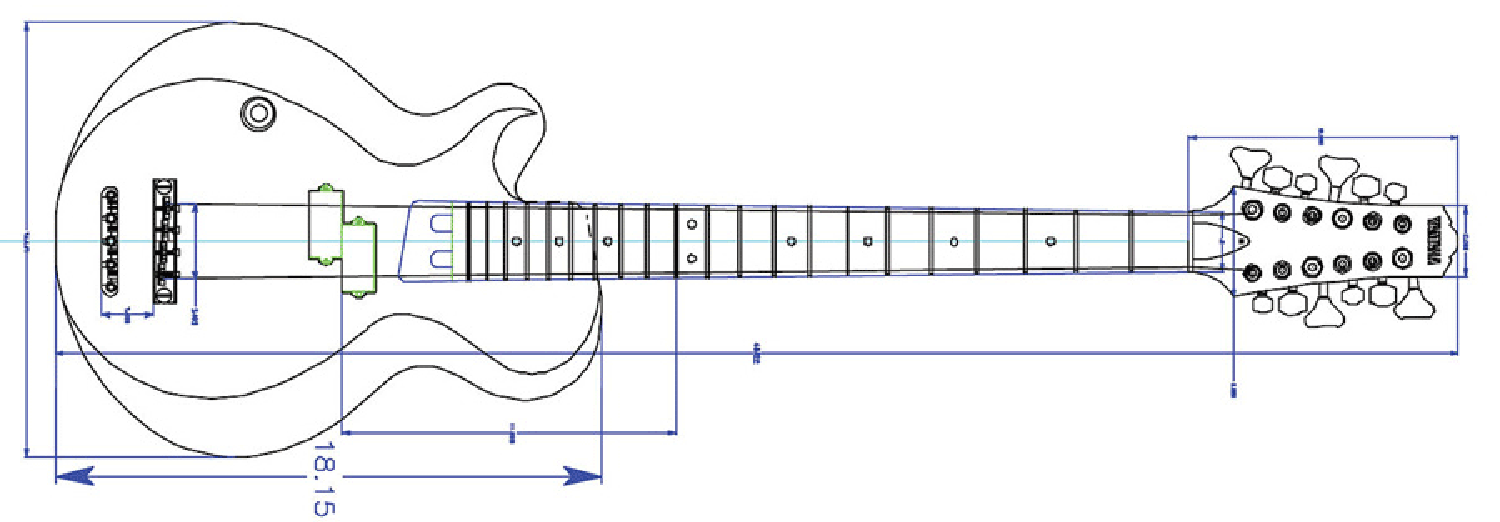
Custom Flying V-12
How to Build Your Own 12-String Bass at Home
Chris Whiteley rockin' with his custom Flying V 12-string bass.
Chris Whiteley from the UK built this custom Flying V 12-string bass in his home on his wife's workbench. He documented the entire process, took photos of every step and wrote down exactly what he was doing as he was doing it. His instructions are included here just as received. Thanks Chris for sharing this project with us!
Building The Body
This is the spalted beech top, with a bit of extra wood around the edges for finishing. Once it is oiled it will be a little darker but the different wood colors should stand out a bit more. The problem with spalting is that it makes some areas of the wood a bit brittle, as can be seen from the piece at top right that was knocked out when it was worked. This will be glued back in and hopefully applications of Danish Oil will harden up the wood.
I was hoping to get four thin book-matched slices so that I could cover the front and back of the V, but that proved to be too difficult so I now have just the two slices for the top. This turns out to have at least one advantage, which will become apparent when fitting the rear four tuners.
So here are the two slices. There is not as much symmetry in the pattern that would normally be obtained due to the irregularity of the spalting. The penciled outline is visible on the top half. Unfortunately much of the black line spalting on the left is going to be lost due to the socket of the neck, but there will still be plenty left. There are some shakes and splits here and there which will be filled in with dark filler to imitate the spalting.
This is the main body of the V, made by biscuit joining and gluing three pieces of ash together using urea formaldehyde glue. The final piece needs to be planed out as it is not entirely flat, and then it needs to be trimmed to size. This sounds casual enough but it is a surprisingly tough piece of wood. I'm going to need more equipment and a constantly sharpened plain blade.
The body will be thinned out towards the top and bottom, about 5 mm front and back or maybe less. This means I will have to shave a fraction of a millimeter where the beech slices join to form the top in order to avoid too obvious a line down the middle. This will make the instrument a bit lighter too while still maintaining a good 45 mm central section between the heel and the bridge.
Starting to cut out the holes for the pick-ups and the neck. I can then use these as a guide for routing out the underlying ash.
Shaping the ash body. This is not easy as I'm using a hand plane and it's a tough piece of wood. I've also cut out the cavity for the pots. On the inside of the V you can see the spaces for the other four tuners.
One half of the top being glued on. Idiot that I am, I forgot to drill a channel in the ash for the wiring from the pick-ups. So instead I cut a channel down the center line underneath the beech so all the wiring will pass beneath the bridge.
The other half of the beech top being glued on. Despite my best efforts there is a slight gap between the two halves, but I'll fill that gap (and any other cracks or splits) with contrasting ebony filler and make a feature of it.
The fully assembled body, now requiring a bit more shaping and routing.
The HEadstock
I was originally looking for a 5-string bass neck but decided to use a 6-string bass neck because I got it cheap ($70 US). The width at the nut is just right but I will have about 5 mm of empty neck on each side at the heel. However, it will be stronger and it has two truss rods.
I started by hand cutting maple pegs to fill the existing holes.
The maple turned out to be a different color that stood out too much…
... so I got some maple veneer and glued it onto the front and back of the headstock. It cleaned up well and I sanded it to blend it into the wood of the neck in the angle behind the nut. I then re-drilled the holes to take eight tuning keys. The other four will be located at the end of the body, with those strings anchoring in ferrules in the headstock. Despite my best efforts there was a small amount of break-out around the tuner holes on the reverse, but that will be hidden by the tuner mechanisms once they are fit into the holes. By the way, the nut is Tusq.
After veneering the front and back of the headstock in maple, I had the idea of taking slices off an off-cut from the spalted beech. I managed to get these two slices which are perpendicular to the front pieces, hence the different patterning. I'll remove the maple veneer from the front of the headstock, glue these pieces on, then sand it smooth and finish with Danish Oil.
Using clamps to apply the spalted beech veneer to the headstock.
The spalted beech veneer has been glued on and shaped to the headstock. This is shown with one coat of Danish Oil.
The headstock after a few more coats of Danish Oil, and the holes have been drilled for the tuners.
Final Assembly and Finishing Touches
The tips of the V were a bit ragged, but they will be filled with ebony filler to match the black lines of the spalting.
The neck is attached with five screws, with the strap button centered.
Having glued everything together for the body and planed the top to shape (with a taper sideways and to the tips of the V), I then soaked the spalted top in wood hardener as some areas were a bit soft. After the wood hardener I sanded the whole thing down again and treated the surface with Danish Oil. I then finished off the ash back, planing and sanding the sides flush with the beech top, then planed the back.
Here is a picture of my wife Susan holding the bass to give you some idea of scale, though she is rather petite. There are strap buttons on each tip of the V.
I initially strung up the V with an 8-string bass set I had lying around, and used guitar strings (knotted together) for the extra four octave strings. The result was exhausting to play so, bearing in mind that I prefer the lighter octaves on my 10-string bass, I kept the tuning at E-A-D-G but dropped the octave tuning to A-D-G-C. This was very much easier to play and it gave a nice bright jangly sound.
The bridge is a Schaller 471 8-saddle bass bridge, bought from Warmoth. The two Mighty Mite 5-string bass pick-ups were purchased from Dancing Dragon Guitars. They have bars instead of pole pieces so string alignment won't be a problem. I have used these pick-ups on a fretless bass and they produce plenty of high end. It has the traditional two volume / one tone control layout. I exploited an interesting circular feature in the wood grain for the jack socket.
Well, last night was the first time I played the V-12 at volume, and I must say it was a very satisfying experience for me and for the rest of the band. I'm really looking forward to playing this live - and to seeing the looks on people's faces! Even non-musicians have spontaneously used the word "beautiful" to describe it.
The box on my belt contains some active electronics that I took out of one of my basses. I did this so that all my basses can go through them, rather than having a set of actives in each bass.
I put another strap button in the crux of the V, next to the tuners. Using the button on the tip of the V made it neck-heavy and really difficult to hold, but now it's as comfortable as any of my other guitars. It's not even too heavy! I might also install a series / parallel switch pot for running pickups in series.
The Flying V next to Chris' T-bird 4-string bass.
Having played the V-12 for a bit, I have to say it's not something that works low slung. The scale of the V is the usual 34" but all that timber sticking out behind the bridge adds on a lot in terms of length and weight. The action is as low as I can get it - no more than 1.5 mm at the 12th fret, possibly 1.25 mm. It plays pretty fast despite the width of the neck, and in fact my guitarist let rip on it with no evident difficulty.
I'd say the hardest job was planing the wood to size and shape, but that was hard as in "hard labor". Other elements were more complicated, such as cutting the veneer for the headstock or shaping the slots for the pick-ups. Fortunately I had some old cabinet making training to fall back on. In the end though a guitar is just some wires on a bit of wood; an electric guitar is this plus some wound magnets.
In retrospect I should have thinned the neck down a bit by a few millimeters on both sides, although that would have meant a complete refret. I can play it OK but it could have been easier. Now, when I go back to my custom 10-string bass it's like playing a broom handle! The reason I used a 6-string bass neck was that the width at the nut was the same as at least one commercially available 12-string bass. Maybe thinning the neck could be a project for next year, although I might need to fit a new nut.
I kept a record of what I spent on this 12-string bass. It breaks down as:
Neck £35
Two sets of guitar tuners £16
Bass tuners £14
Controls and knobs £10
Spalted beech slab £27
Pick-ups £20
8-saddle Schaller bridge (including duties) $106 + £20
Top nut $13.50
String ferrules £9
Anything else was given to me (the ash was from a friend who works in ash, etc.) or cannibalized from other guitars (neck bolts). Excluding the strings, and assuming £1 = $2 US, this gives a grand total of $421.50.
I suppose I'd be lying to myself if I said this was my last project. There is nothing quite like taking to the stage with an instrument that you've made yourself. Also, if I don't take into account the financial value of my time, home builds are usually startlingly cheap. Until the next project, my wife is happy to have regained control of "her" workbench in the workshop where she makes mosaics.
Cheers!
Chris Whiteley